Camp Nibeiwa DTO (id:#56595)
Prior Publication: ASL Union of Gamers #3: ASLUG 4
Near Bir Ebna, Egypt
1940-12-09 (9 others)
ASLUG 4: Camp Nibeiwa (ASLUG # 2)
CH114: Surprise at Nibeiwa (Operation Compass & Wavell)
CH115: Tummar West (Operation Compass & Wavell)
DR 1: The Italians Need Help (Desert Rats Scenario Pack)
TAC11: Une Danse avec la Reine (Tactiques # 2)
AK 65: The Fall of Camp Nibeiwa (Afrikakorps - AK008 Frontier War)
AK 66: March to Fire (Afrikakorps - AK008 Frontier War)
GA 6: Tummar Tussle (Graziani's Advance)
263: Camp Nibeiwa (ASL 7a - Hollow Legions (3rd Edition))
Designer: Gary Fortenberry
Starter kit scenario?: Deluxe scenario?:
Balance:
BritishItalian
Overview:
Operation Compass, the codename for Wavell’s offensive against Italian-held Libya, was kicked off with several assaults on Italian frontier camps. These fortified camps were built to cover the approaches to the coastal road which the British advance would need. On the night of 7-8 December, under the veil of strict secrecy and low cloud cover, the British were able to gain their way into assault positions without being detected by the Italians. At 0500 on the 9th, a detached battalion of the 4th Indian Division fired on Camp Nibeiwa’s eastern perimeter in order to confuse the defenders as to the direction of the attack. At 0715 hours, British divisional artillery shelled Nibeiwa in a brief but intense bombardment.Attacker: British (1/6th Rajputana Rifles and 2nd Cameron Highlanders of the 4th Indian Division, and of the 7th Royal Tank Regiment)
Defender: Italian (Gruppo Maletti/Armor Support Group/Artillery Support Group)
10 turns
Players: 2 OBA: None Night: No| Unit Counts: |
| Squads: A:16.0 D:12.5 |
| AFVs: A:6 Matilda II x 6 |
| AFVs: D:10 M11/39 x 6 L3/35 x 4 |
| Guns: A:0 OML 2-in. Mortar x 2 D:4 Boys ATR x 3 Cannone da 75/27 x 3 Cannone da 47/32 Mortaio da 45 Brixia x 2 |
| Misc Rules: | Dry, Light Dust (F11.71) Pre-Game Bombardment (C1.8) |
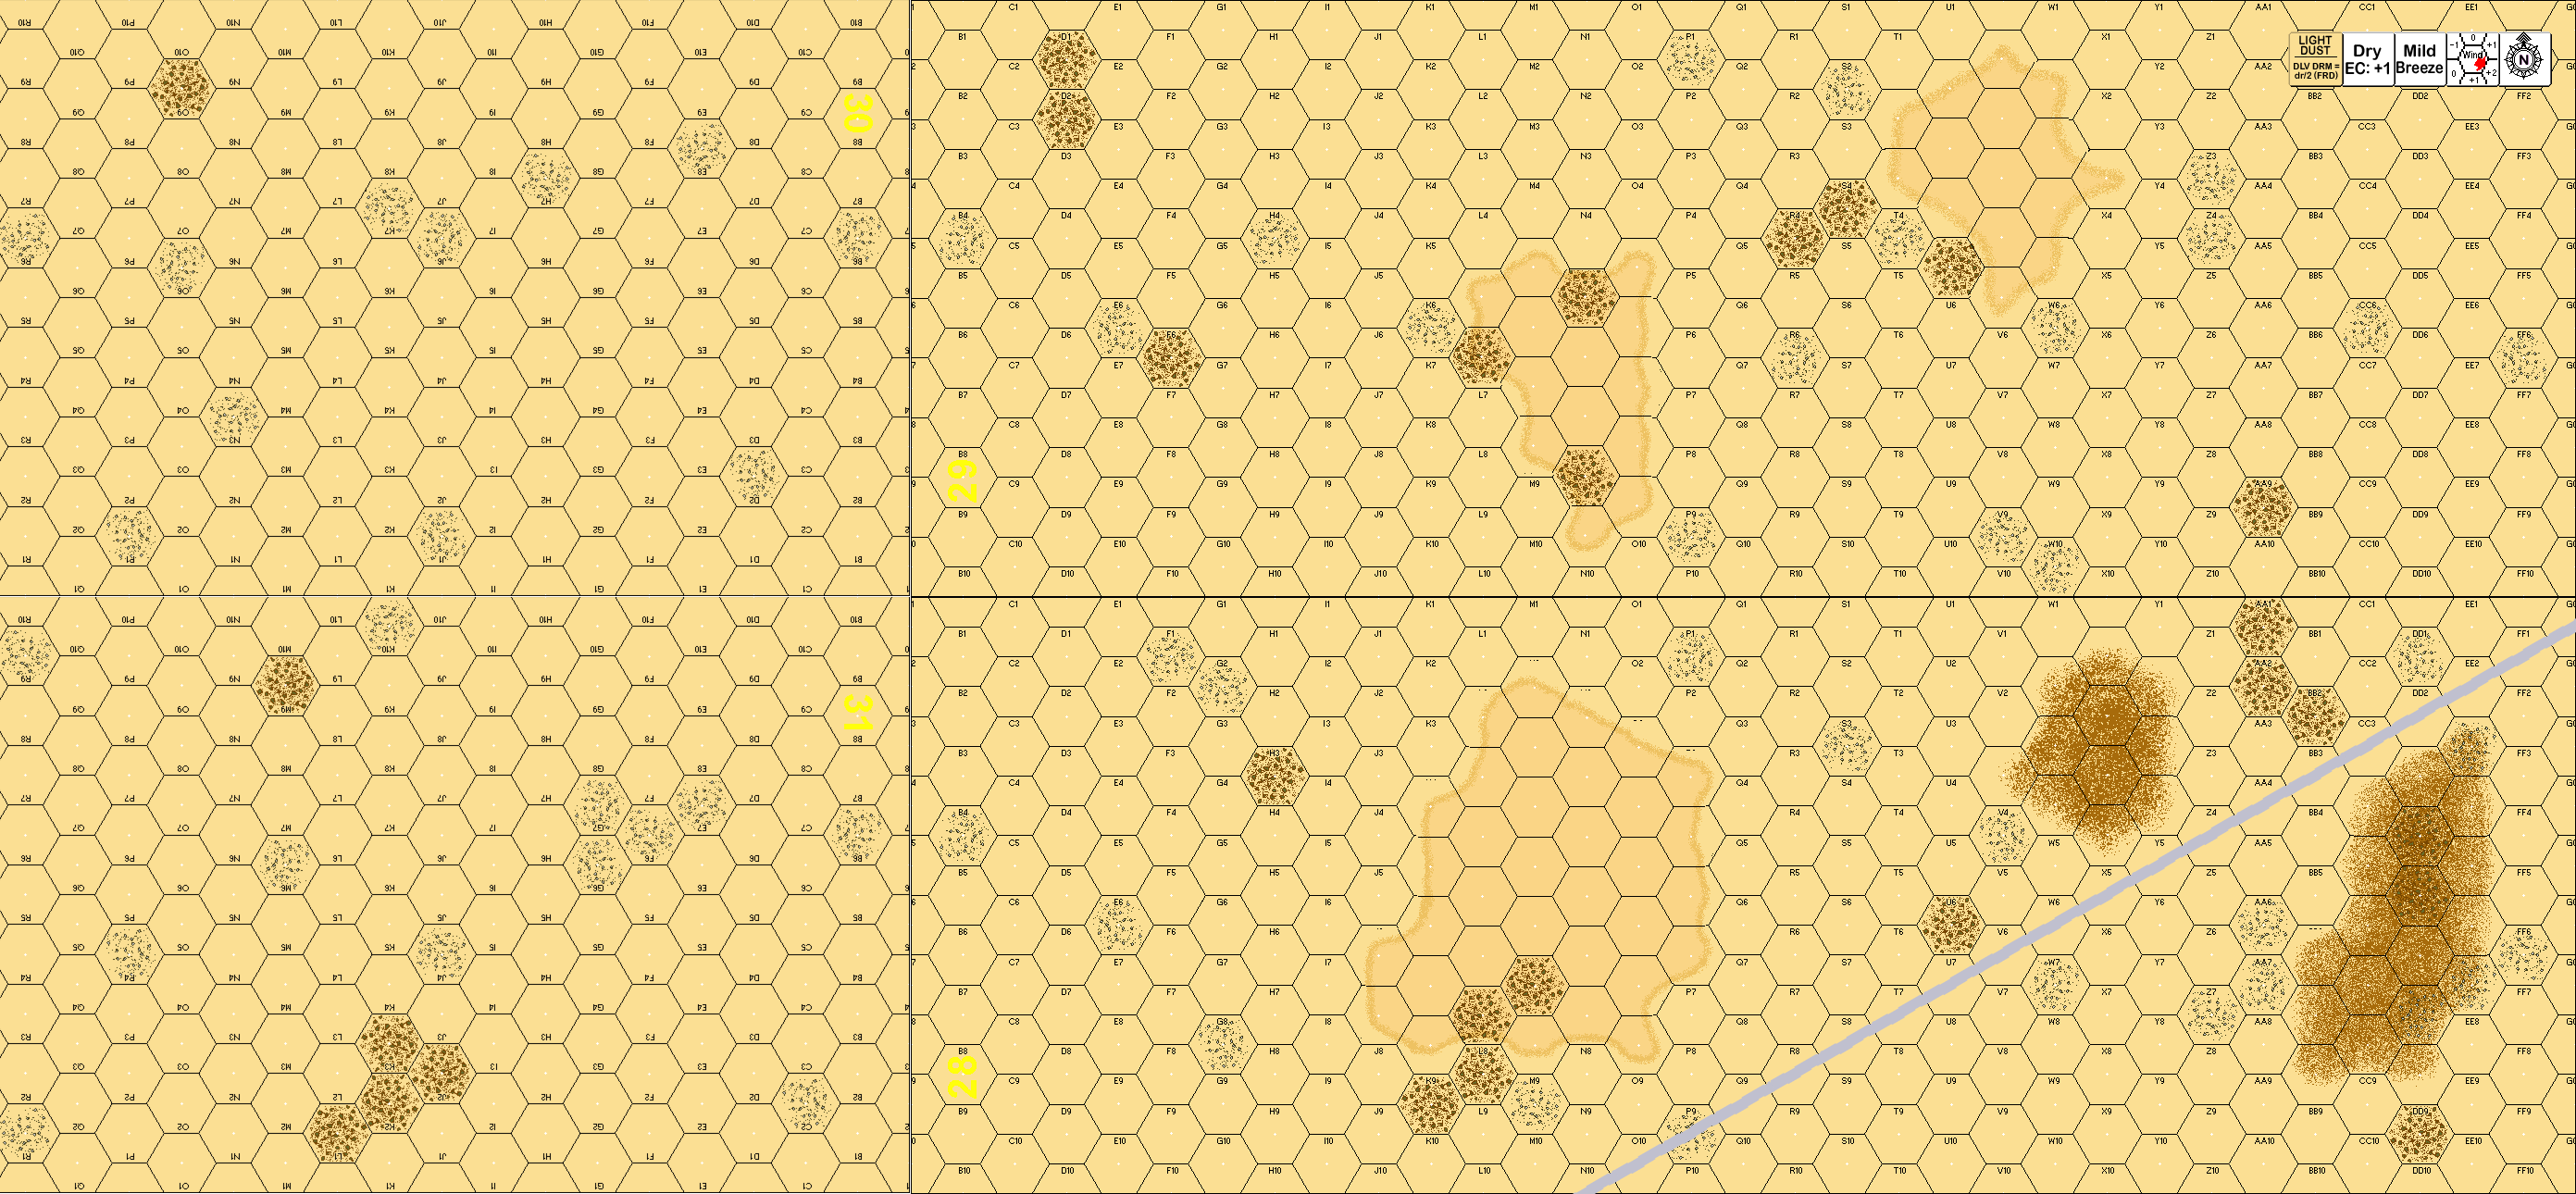
| Map Board(s): |
| Overlays: | D1 | D5 | D6 | H3 | H6 | S2 | S6 |
Errata (source)
| I could not find errata for this scenario, but it needs some. There is no set up corrdinate for overlay D6, yet the Italian armour may set up in it. | |
| Set up coordinate for D6 is 29O7-29O8. |
Players wanting to play this game/Request a match:
Scenario info
Last Played:
View all or balance report
| Action | Date |
|---|---|
| Hutch Modified the misc. rules | 2025-12-09 12:54:48 |
| hoxson1 Modified the gps location | 2022-08-25 02:25:34 |
| RJenulis Added a playing | 2020-12-10 22:30:46 |
| Pte Parts Added a playing | 2020-05-09 13:18:13 |
| Pte Parts Rated the scenario | 2020-05-09 13:10:15 |
| File | Description | User | Views |
|---|---|---|---|
| AAR (G20 Camp Nibeiwa.doc) | After Action Report | King Billy | 2547 |
| Matilda II tanks advance in the desert (wwii1-17.jpg) | Image | King Billy | 1710 |
| (brit-ital.png) | Image | hoxson1 | 1400 |
| (G20.png) | Map Image | hipsu | 1680 |
| Description | Uploaded by |
|---|
| Title | Author | Date |
|---|
| Description | Uploaded by |
|---|
Quick Map View
Location
Images
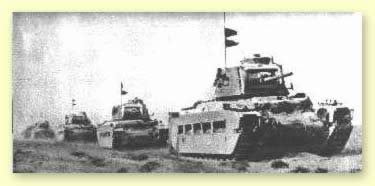
Matilda II tanks advance in the desert
| Statistics: | ||
| Avg Rating: 5.00 | Votes: 5 | Views: | 7801 |
| To-Play list count: | 1 | |
| Estimated Play time: | 13.8 hours | |
| Recorded Games: | 4 | |
| Archive recorded plays: | ||
| British | 1 | |
| Italian | 3 | |
| Drawn: | 0 | |
| ROAR Data: (as of today) Camp Nibeiwa [Log in to Confirm or Edit] |
| [A] British | 1 |
| [D] Italian | 1 |