Trying the Right Flank WTO (id:#60366)
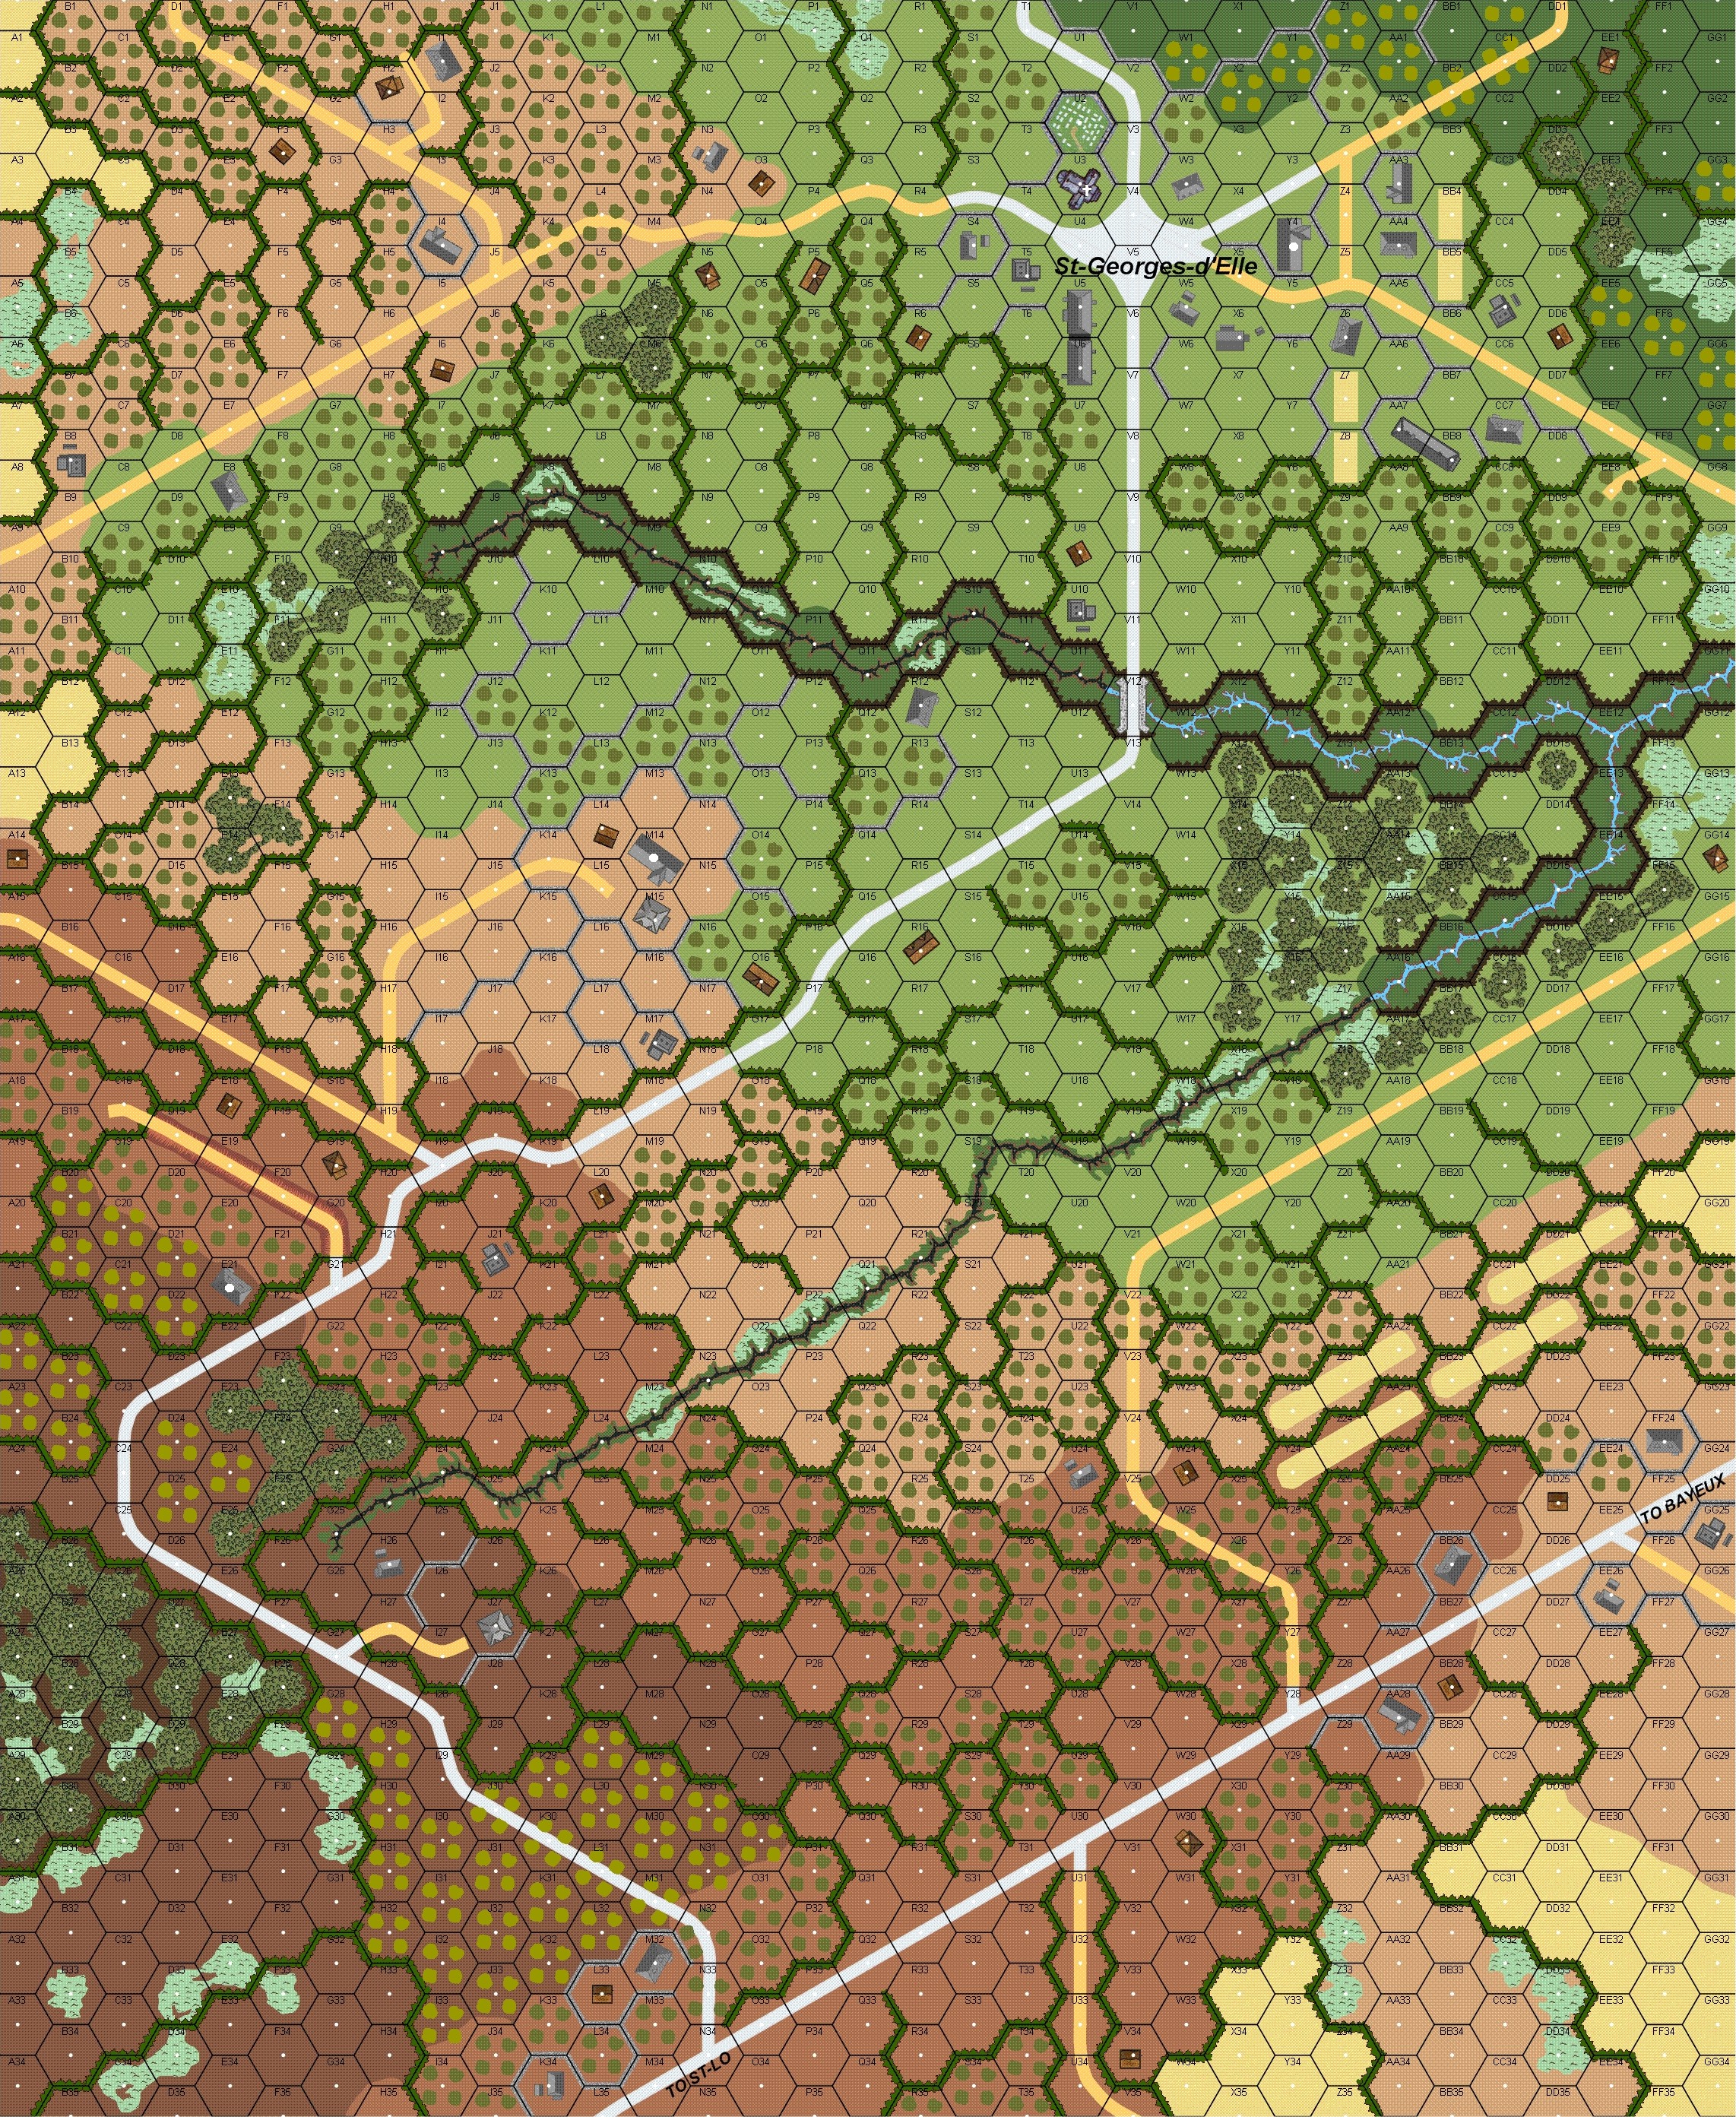
St-Georges-d'Elle, France
1944-07-11 (38 others)
104: Hill of Death (ASL 5a - For King and Country)
D16: Clay Pigeons (DASL 2 - Hedgerow Hell)
D17: They're Coming! (DASL 2 - Hedgerow Hell)
G36: Hill of Death (AH:The General # 31.2)
ATP06: Kraut Corner (At the Point # 11-12)
CH 99: Purple Heart Corner (Critical Hit # 5.2)
BTB3: Kraut Corner (Beyond the Beachhead)
BTB7: Blood on Hill 192 (Beyond the Beachhead)
KH 1: Last Gasp (King of the Hill)
KH 9: Kritz and Fritz (King of the Hill)
KE 8: Another Day, Another Field (March Madness `97 Pack)
KE 14: Another Day, Another Field (March Madness `99 Pack)
SP5: The Hornet of Cloville (Schwerpunkt # 1)
SP113: The Tigers Wrecked 'Em (Schwerpunkt #10)
AP35: A Lesson for Lehr (ASL Action Pack # 4 Normandy 1944)
TM: Purple Heart Draw (Battle of the Hedgerows - Purple Heart Draw)
PHD-1: Refuse to Retire (Battle of the Hedgerows - Purple Heart Draw)
PHD-3: Diversionary Attack (Battle of the Hedgerows - Purple Heart Draw)
PHD-4: Counterattack (Battle of the Hedgerows - Purple Heart Draw)
BtB 3: Kraut Corner (Beyond the Beachhead 2)
BtB 7: Blood on Hill 192 (Beyond the Beachhead 2)
BtB 14: Swatting a Hornet (Beyond the Beachhead 2)
StW4.31: Knock Them Down! (Generic Playtesting Log)
GJ068: Over Hill 192 (Grumble Jones)
Hill 192 01: Purple Heart Draw (Hill 192)
Hill 192 02: The Objective (Hill 192)
CHA #17: Hill 192 (Critical Hit Annual #2)
#5: Death's Draw (St. Lo: The Battles for Hill 192)
#6: Heroes' Garden (St. Lo: The Battles for Hill 192)
#9: The Big Hurt (St. Lo: The Battles for Hill 192)
#13: Just Desserts (Critical Hit Annual #5)
D16: Clay Pigeons (Deluxe Advanced Squad Leader)
D17: They're Coming! (Deluxe Advanced Squad Leader)
Mission 10: Summer Blow (White Mammoths)
StW1: Secure the Crossroads (The Steelworks)
StW2: "Hunt The Hun" (The Steelworks)
StW3: Tiger Attack (The Steelworks)
7: Exhausted and Disheartened (29 Let's Go! - Behind the Beachhead and the Drive for St. Lo)
Designer: George Kelln
Starter kit scenario?: Deluxe scenario?:
Balance:
AmericanGerman
Overview:
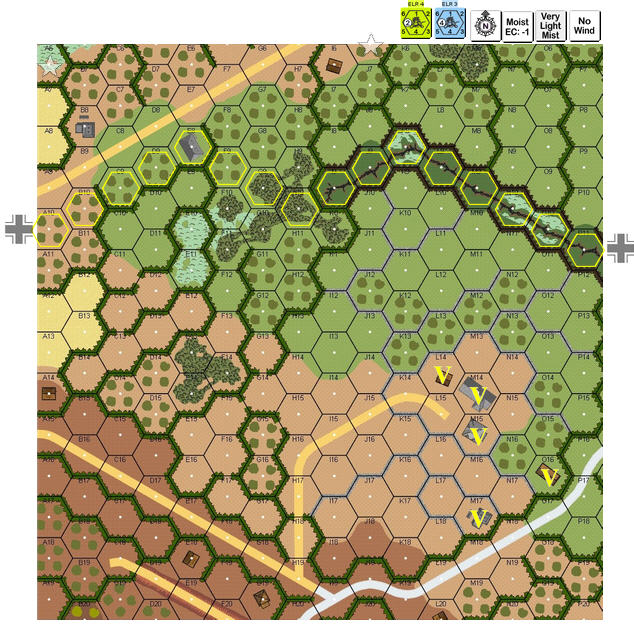
Company A was being pinned down by heavy mortar and artillery fire in Purple Heart Draw; Company C, to its right had moved forward against lesser difficulties thanks in part to the assistance of the engineers of the US 2d Combat Engineer Battalion, who blasted gaping holes in the thick sides of the hedgerows for the support tanks of the 741st Tank Battalion to pass through. The men of Company C quickly followed up and by mid-morning had closed on the small chateau, which seemed heavily fortified and bristling with German machine-guns...Attacker: American (Co. C, 23rd Inf Regt and Co. C, 741st Tank Bn)
Defender: German (I/Fallschirmjäger Regiment 5)
6.5 turns
Players: 2 OBA: None Night: No| Unit Counts: |
| Squads: A:12.0 D:5.0 |
| AFVs: A:2 M4A1 x 2 |
| AFVs: D:0 |
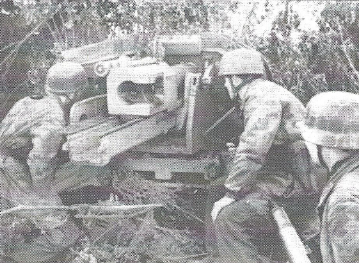
| Guns: A:0 D:1 7.5cm PaK 40 |
| Misc Rules: | All PHD MSR in effect. D: may set up in foxholes in suitable terrain |
| Map Board(s): |
| Publication | Board |
|---|---|
| Battle of the Hedgerows - Purple Heart Draw | PHD |
| Overlays: | NONE |
Errata (source)
Players wanting to play this game/Request a match:
Scenario info
Last Played:
View all or balance report
| Action | Date |
|---|---|
| grumblejones Added a playing | 2025-08-23 00:47:45 |
| Danno Added a playing | 2025-08-23 00:30:10 |
| Jwil2020 Added a playing | 2023-08-08 21:59:42 |
| Jwil2020 Rated the scenario | 2023-08-08 21:29:40 |
| hoxson1 Modified the Theatre | 2021-02-25 18:11:25 |
| File | Description | User | Views |
|---|---|---|---|
| (!USA-GERM.png) | Image | hoxson1 | 1401 |
| (pak 40 fallschirm.png) | Image | hoxson1 | 1267 |
| Trying the right flank (PHD-2 Trying the Right Flank.jpg) | Map Image | Fre20741 | 1565 |
| Description | Uploaded by |
|---|
| Title | Author | Date |
|---|
| Description | Uploaded by |
|---|


