Drawing the Kroh MTO (id:#66508)
Retimo, Crete
1941-05-20 (49 others)
45: Revenge at Kastelli (ASL 6 - The Last Hurrah (2nd Edition))
93: Tavronitis Bridge (ASL 5a - For King and Country)
94: Bofors Bashing (ASL 5a - For King and Country)
95: Descent into Hell (ASL 5a - For King and Country)
97: A Desperate Affair (ASL 5a - For King and Country)
98: On Silent Wings (ASL 5a - For King and Country)
A 01: Tavronitis Bridge (AH:ASL Annual `89)
A 02: Bofors Bashing (AH:ASL Annual `89)
A 03: Descent into Hell (AH:ASL Annual `89)
A 102: On Silent Wings (AH:ASL Annual `96)
BB04: A Desperate Affair (Backblast # 1)
G39: A Desperate Affair (AH:The General # 31.4)
T15: The Akrotiri Peninsula (AH:The General # 29.1)
NEWS23: Plans Gone Astray (ASL News # 14)
PL G: Cemetery Hill (version 2.0) (Platoon Leader 2.0)
ASL News 23: Plans Gone Astray (Scroungin' ASL News)
O75.1: Crete 1: The Airfield (On All Fronts # 75)
O75.2: Crete 2: The Bridge (On All Fronts # 75)
O75.3: Crete 3: The Hill (On All Fronts # 75)
O75.1: Crete: Riders on the Storm CG (On All Fronts # 75)
DB009: Headhunting for Bloody Huns (Dispatches from the Bunker # 5)
CH 177: Akrotiri Gone Awry (Critical Hit # 7.3)
ASLSK Contest C: Thank Heavens, We Lost (ASL Starter Kit Scenario Designer Contest)
OM-1: Morning's Peril (Kreta - Operation Merkur)
OM-2: Glide Path to Hell (Kreta - Operation Merkur)
OM-3: Hill 107 (Kreta - Operation Merkur)
OM-4: The Umbrella Men (Kreta - Operation Merkur)
OM-5: Stentzler's Wary Reconnoitre (Kreta - Operation Merkur)
OM-6: Waltzing the Matildas (Kreta - Operation Merkur)
AoC01: Rushing Hill A (Kreta - Operation Merkur)
AoC10: Glide Path to Invasion (Kreta - Operation Merkur)
OM-CG: Kreta - Operation Merkur Campaign Game (Kreta - Operation Merkur)
FF20b: The Face of Battle (FireFights: internet releases)
45: Revenge at Kastelli (ASL 11 - Doomed Battalions (3rd Edition))
OB04: Headhunting for Bloody Huns (Out of the Bunker)
SAM 2: A Royal Escape (Swedish ASL Magazine)
RR-15: Koch's Rockets (Russian Rarities 2)
DB126: The Kastelli Thirteen (Dispatches from the Bunker #41)
: Expect the Cretans to be Friendly (View From the Trenches - Brit Pack)
MM 46: Take That Hill (March Madness 2018 Players Pack)
DB150: Fallschirmjäger Graveyard (Dispatches from the Bunker #48)
#1: Hand of Von Richtofen (The Devil's Vineyard: Heraklion Airfield)
#2: Into The Fire (The Devil's Vineyard: Heraklion Airfield)
#3: Befall, The Yellow Flowers (The Devil's Vineyard: Heraklion Airfield)
#8: Black Watch, Death Watch (The Devil's Vineyard: Heraklion Airfield)
D21: Headhunting For Bloody Huns (Deluxe Advanced Squad Leader)
ASLN23: Plans Gone Astray (Critical Hit #8.1)
45: Revenge at Kastelli (ASL 11a - Doomed Battalions (4th Edition))
S104: Paratrooper's Hell (Basic Training: Issue One)
Designer: Simon Spinetti
Starter kit scenario?: Deluxe scenario?:
Balance:
GermanAustralian
Overview:
The key to victory on Crete was control of the airfields, and one such airfield was located 8 kilometers east of the town of Retimo. Luftwaffe reconnaissance convinced the German planners that this area was only lightly held, so just two battalions of Fallschirmjäger-Regiment 2 were committed to the task of taking this vital piece of ground. One group, under the command of Major Hans Kroh, was to drop directly onto and east of the airfield. At 1715 hours, the drone of Ju52 transport planes filled the air as the fallschirmjäger prepared to jump. Unknown to them, waiting below were four poorly-equipped but determined battalions of Australian and Greek defenders.Attacker: German (Gruppe Kroh, Bataillon I, Fallschirmjäger-Regiment 2, Flieger-Division 7)
Defender: Australian (Company A, 2/1st Battalion and 6th Battery, 2/3rd Field Regiment, 19th Australian Infantry Brigade)
7 turns
Players: 2 OBA: None Night: No| Unit Counts: |
| Squads: A:20.0 D:9.0 |
| AFVs: A:0 |
| AFVs: D:0 |
| Guns: A:2 8cm GrW 34 x 2 D:3 Obice da 100/17 Cannone da 75/27 x 2 Boys ATR |
| Misc Rules: | A: Predesignated DP: (E19.12), D: Italian Guns Captured Use (21.11) |
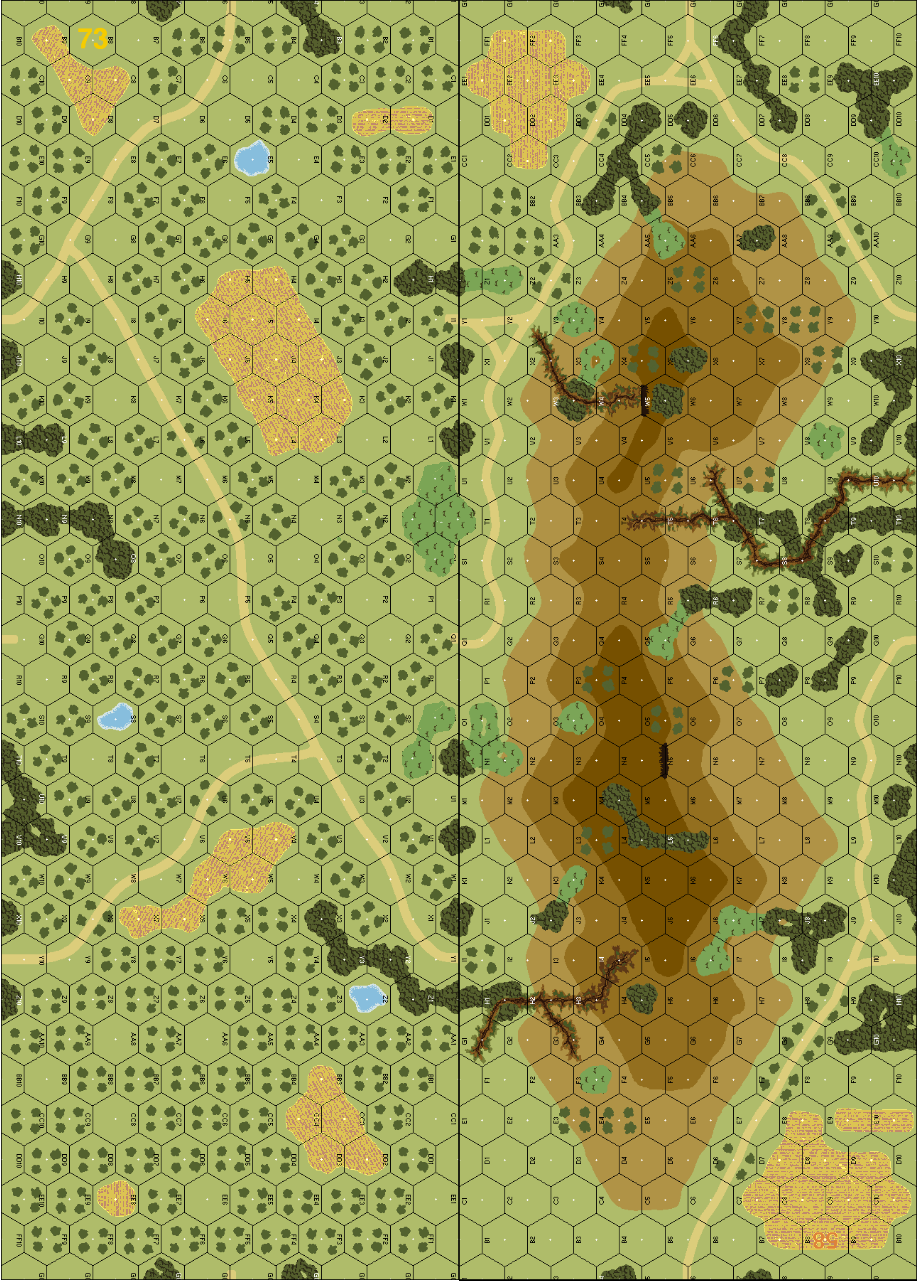
| Map Board(s): |
| Publication | Board |
|---|---|
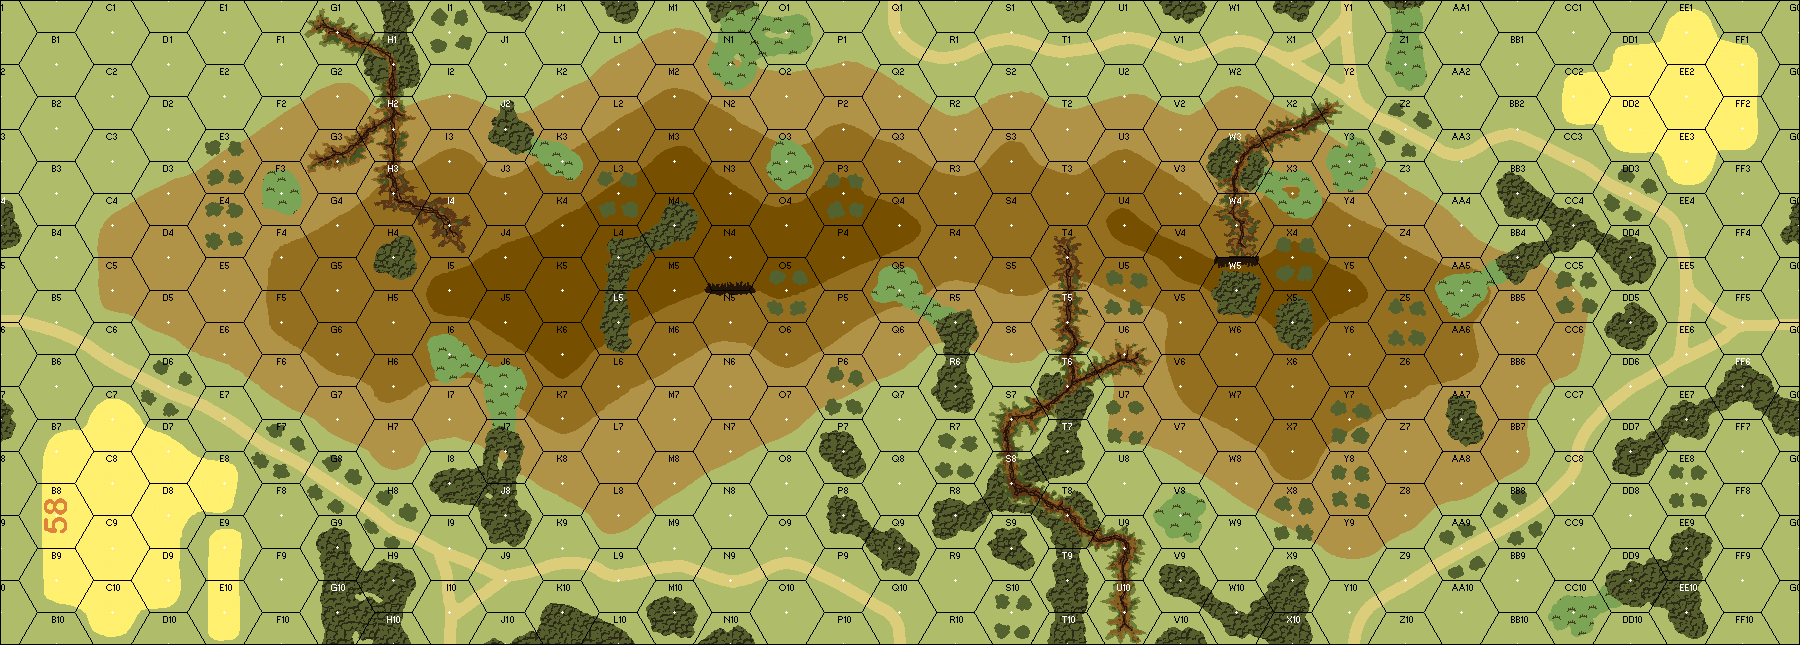
| ASL Action Pack # 5 East Front | 58 |
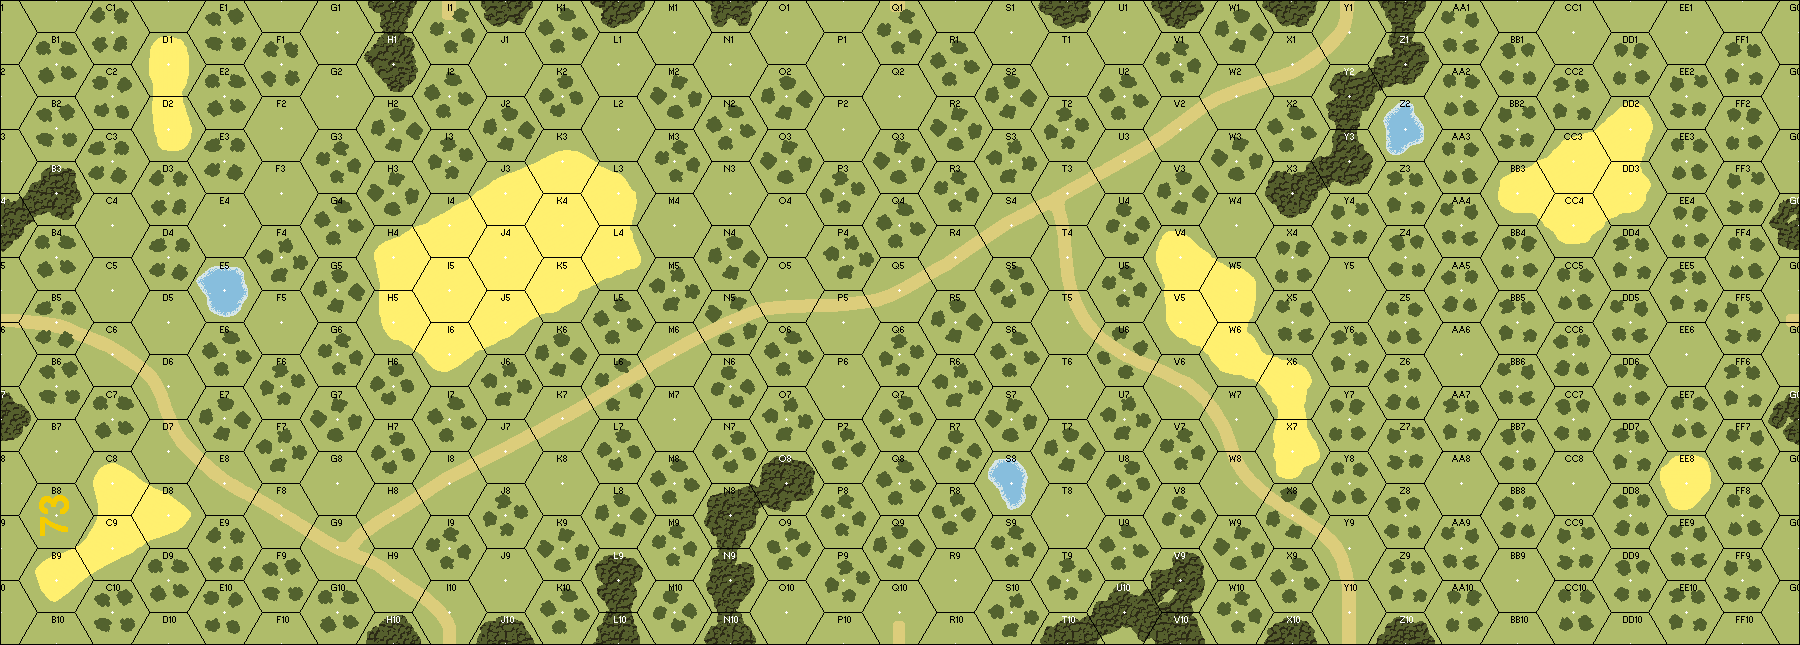
| ASL Action Pack #12 Oktoberfest XXX | 73 |
| Overlays: | B2 | B4 | O2 | O3 |
Errata (source)
Players wanting to play this game/Request a match:
Scenario info
Last Played:
View all or balance report
| Action | Date |
|---|---|
| Dougban Uploaded a VASL file | 2024-02-01 21:30:49 |
| Dougban Added a playing | 2024-02-01 21:04:52 |
| pensatl1962 Rated the scenario | 2023-10-20 02:41:53 |
| pensatl1962 Added a playing | 2023-10-20 02:40:18 |
| pensatl1962 Rated the scenario | 2023-10-20 02:18:45 |
| File | Description | User | Views |
|---|---|---|---|
| OB (OB.vsav) | VASL Setup | Dougban | 1172 |
| (german-aussie.png) | Image | Hutch | 987 |
| (kroh map.png) | Map Image | hoxson1 | 963 |
| Description | Uploaded by |
|---|
| Title | Author | Date |
|---|
| Description | Uploaded by |
|---|


