Corking the Chambois Bottle WTO (id:#66363)
Chambois, France
1944-08-20 (21 others)
PP02: Supply Detail (Provence Pack (MMP Download))
: The Assault on Gap (Internet)
FE 121: Allies in a Few Days (Oblivion Pack)
PP 2: Corvee de Ravitaillement (Franc-Tireur # 4)
SP72: One Tough Canuck (Schwerpunkt # 6: Victoria Cross)
SP90: Skirting the Mace (Schwerpunkt # 8)
SP109: Olboeter's Escape (Schwerpunkt #10)
WCW7: Eye of the Tiger (ASL Open `96 Scenario Pack)
AP40: The Head of the Mace (ASL Action Pack # 4 Normandy 1944)
DB080: Task Force to Cotignac (Dispatches from the Bunker #30)
RPT55: Coudehard Cache (Rally Point # 6)
GJ039: The Lion and the Beer (Grumble Jones)
CHA8: Perdition's Road (Critical Hit Annual #1)
MM 41: Final Victory (March Madness 2017 Hollis Partisans Pack)
AP129: A Polish Battlefield (ASL Action Pack #13 Oktoberfest XXXII)
LSSAH 48: Fight to Keep it Open (Leibstandarte Pack 6 - Normandie)
AP142: The Closer (ASL Action Pack #14 Oktoberfest XXXIV)
HazMo03: Seaside Retreat (HazMo Scenario Pack 1: A World at War)
AP142: The Closer (ASL European Union Championship 2022)
FP2 #4: (Coude) Hard Ride (Freedom's Price - Poland 2)
DC1: The Mace (Internet: David Craig)
Designer: Ron Duenskie
Starter kit scenario?: Deluxe scenario?:
Balance:
German/German (SS)American/Polish
Overview:
By the end of July, after weeks of stalemate in the Norman bocage, the Allies finally achieved the breakout for which they had sought. This rapid advance quickly led to the formation of an immense pocket near Falaise, where the German 7.Armee and 5.Panzer-Armee faced entrapment and annihilation. Realizing the danger, German commanders ordered an all-out withdrawal to the east. The escape route contained two key features that control of would be vital. The first was the high ground around Mont Ormel; the second was the crossroads and bridge at Chambois. The Polish 1st Armoured Division were ordered to take both. They linked up with the American 2nd Battalion, 359th Infantry Regiment, 90th Infantry Division and organized their defenses.Attacker: German/German (SS) (Panzer-Division 116 with SS-Panzer-Division 12 "Hitlerjugend" and Infanterie-Division 353)
Defender: American/Polish ((American) 2nd Battalion, 359th Infantry Regiment, 90th Infantry Division and (Polish) 10th Dragoons and 24th Lancers, 1st Armoured Division)
7.5 turns
Players: 2 OBA: None Night: No| Unit Counts: |
| Squads: A:31.0 D:17.5 |
| AFVs: A:15 PzKpfw VIE (L) x 2 PzKpfw VG x 3 PzKpfw IVH x 2 StuH 42 StuG IIIG SPW 251/9 SPW 251/1 x 3 PzKpfw IIIN x 2 |
| AFVs: D:6 Cromwell VII x 3 Achilles(a) Carrier B x 2 |
| Guns: A:0 5cm leGrW 36 x 2 D:3 OQF 17-Pounder M1 57mm AT Gun OML 3-in. Mortar M2 60mm Mortar |
| Misc Rules: |
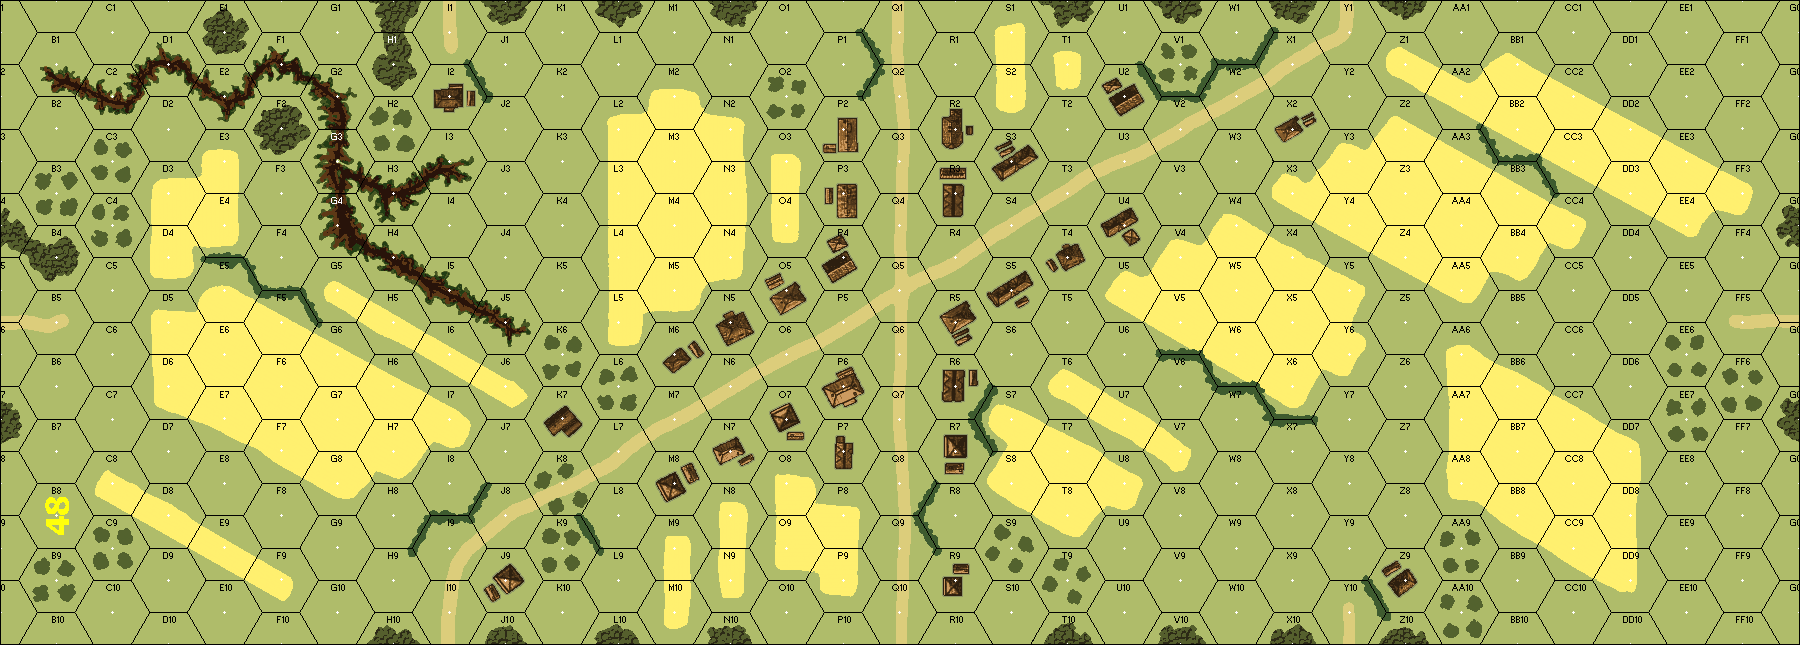
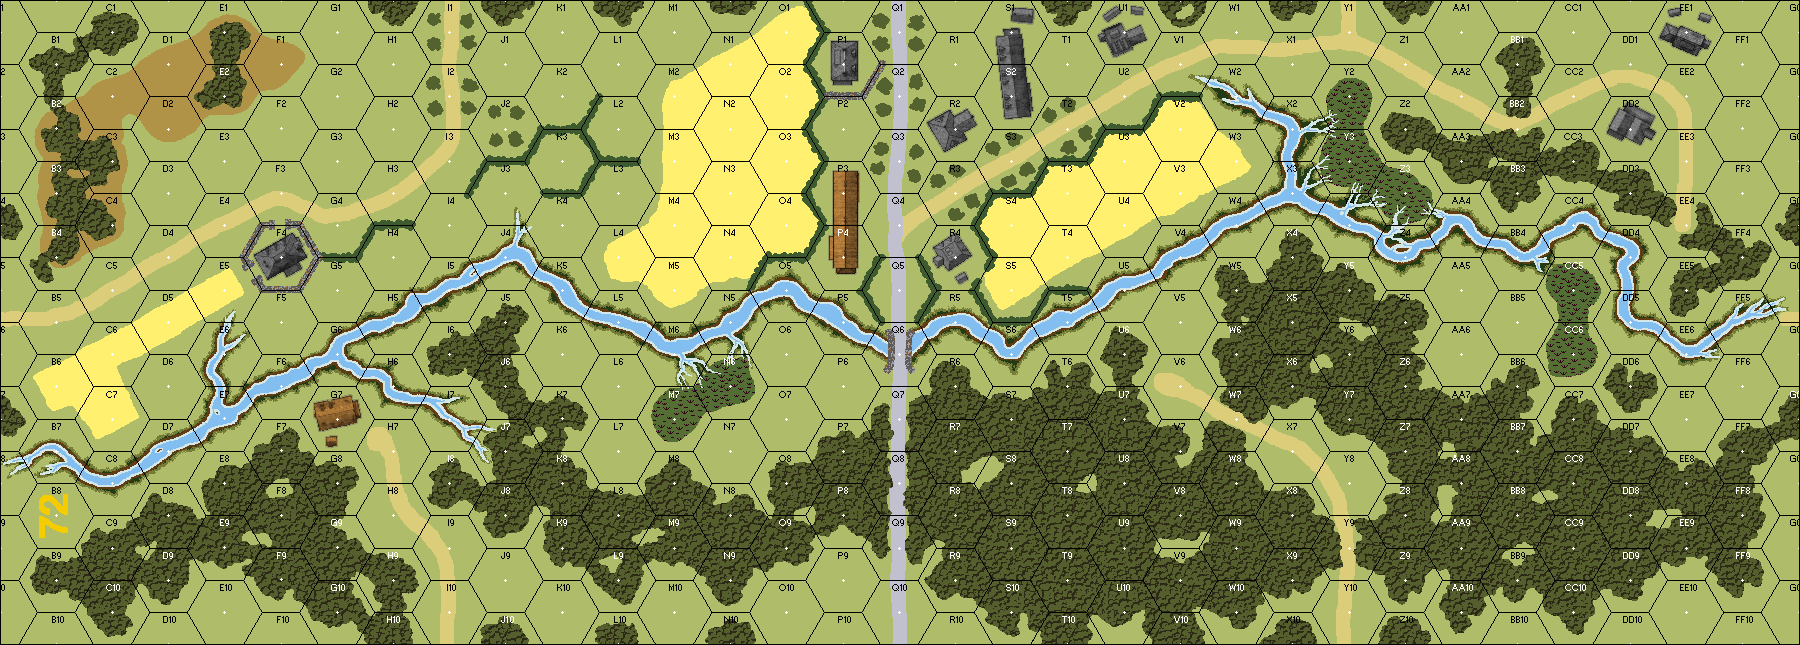
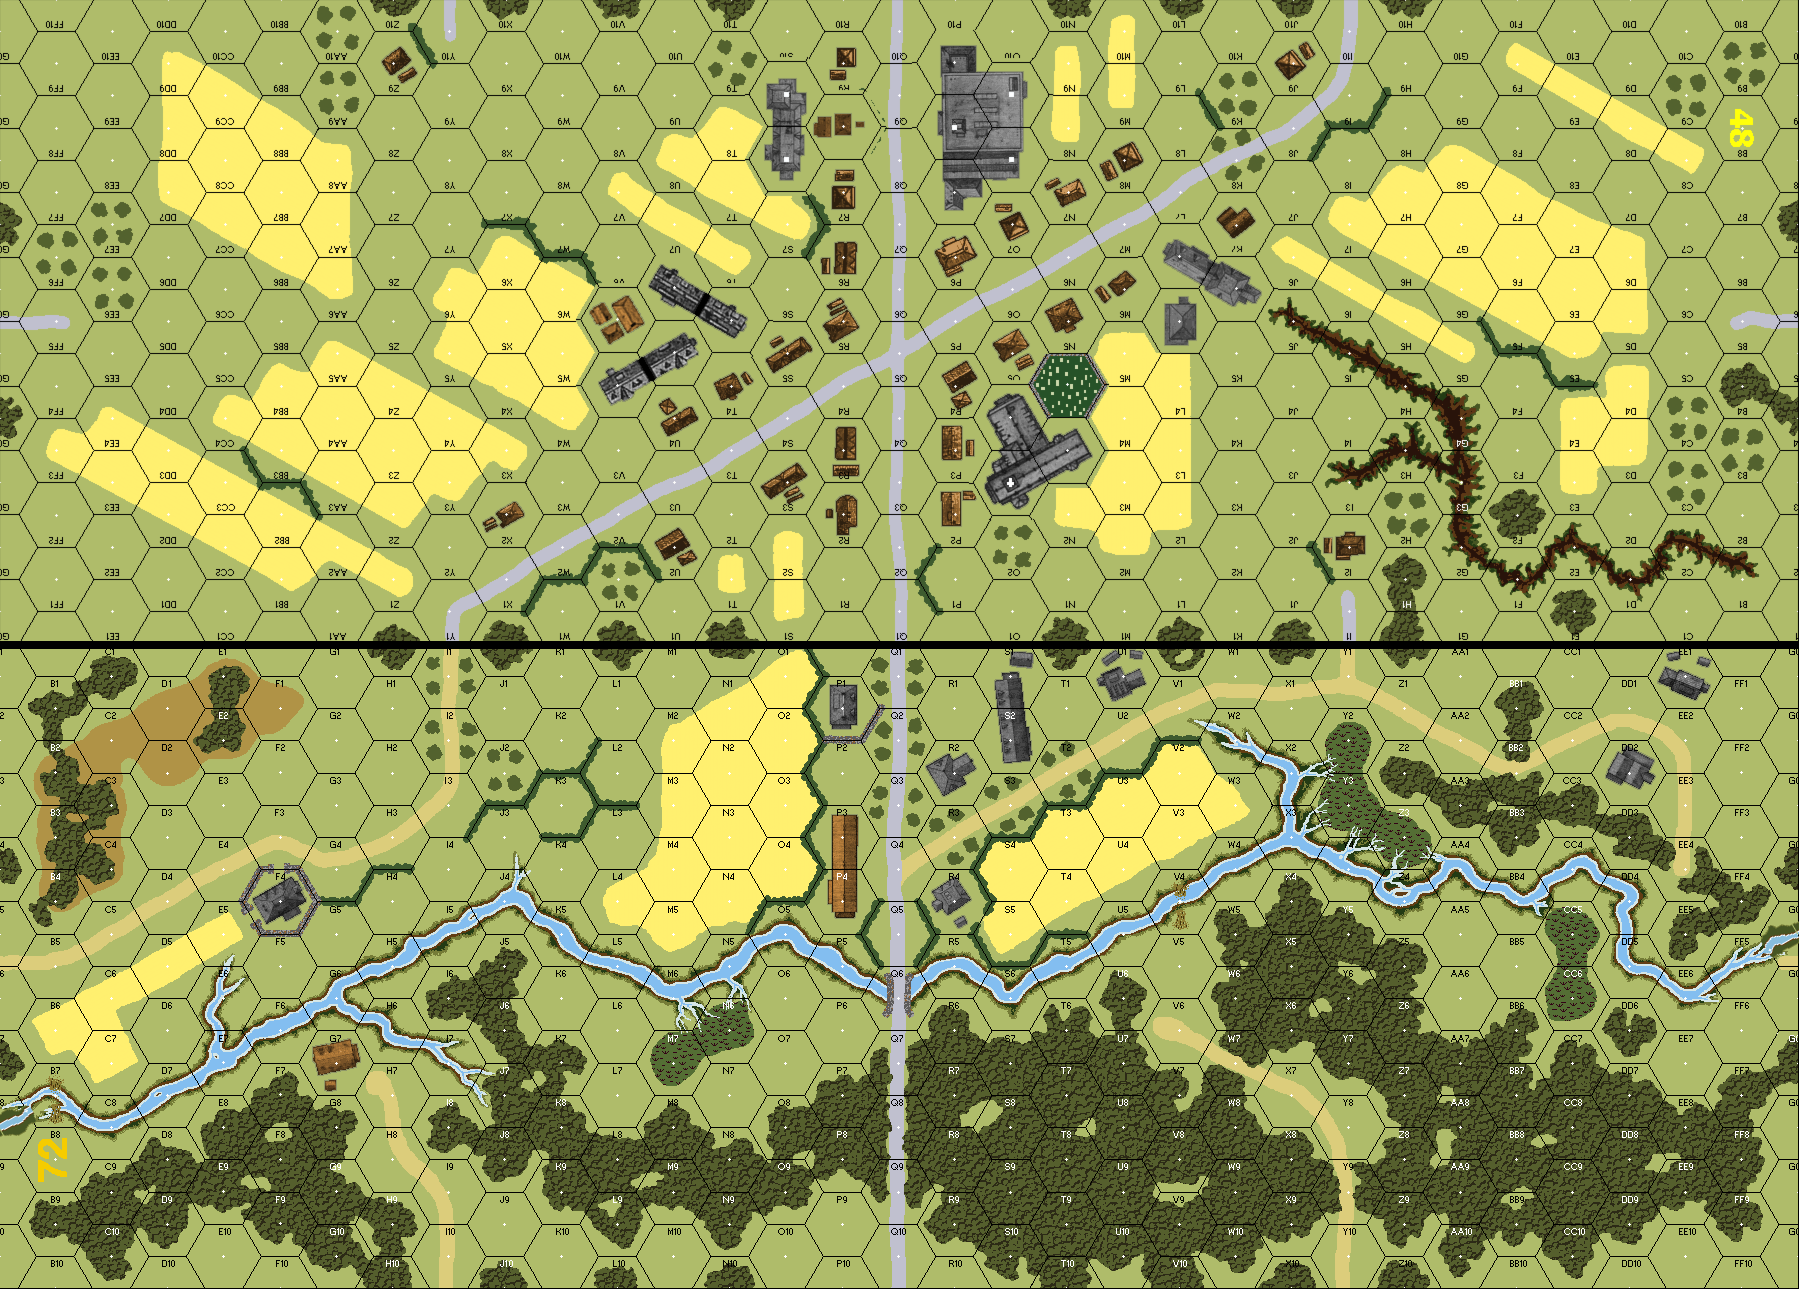
| Map Board(s): |
| Publication | Board |
|---|---|
| ASL 12 - Armies of Oblivion | 48 |
| ASL 12 - Armies of Oblivion (2nd Edition) | 48 |
| ASL Action Pack #11 29 Let's Go! | 72 |
| Overlays: | X14 | X15 | X16 | X18 | X19 |
Errata (source)
Players wanting to play this game/Request a match:
Scenario info
Last Played:
View all or balance report
| Action | Date |
|---|---|
| Dave Modified the Attacker's AFVs | 2025-09-21 15:38:03 |
| Dave Modified the unit counts | 2025-09-21 15:38:03 |
| buser333 Added a playing | 2025-01-31 13:23:51 |
| hoxson1 Modified the gps location | 2024-10-21 20:48:21 |
| Pte Parts Linked the scenario to ROAR | 2024-07-02 02:56:51 |
| File | Description | User | Views |
|---|---|---|---|
| (germand germss-uspolish.png) | Image | hoxson1 | 1089 |
| Mapboard (J209.png) | Map Image | Yarlis | 1133 |
| Description | Uploaded by |
|---|
| Title | Author | Date |
|---|
| Description | Uploaded by |
|---|


