It Isn’t Over CBI (id:#62463)
Myawadi, Burma
1942-01-20 (6 others)
RP 8: Victoria Cross (Rout Pak I)
X 7: Victoria Cross (Rout Report # 2)
RetroPak#12: Victoria Cross (Retro Pak II)
DP BONUS #2: One Last Charge (Digger Pack I)
AP86: Milling About (ASL Action Pack # 9 To the Bridge!)
STL4: Don’t Count Your Chickens (China-Burma-India: The Lost Theater Part 1)
X 7: Victoria Cross (Rout Report # 2)
RetroPak#12: Victoria Cross (Retro Pak II)
DP BONUS #2: One Last Charge (Digger Pack I)
AP86: Milling About (ASL Action Pack # 9 To the Bridge!)
STL4: Don’t Count Your Chickens (China-Burma-India: The Lost Theater Part 1)
Designer: Jim Burris
Starter kit scenario?: Deluxe scenario?:
Balance:
JapaneseCommonwealth
Overview:
The Japanese advance guard crossed the border into Burma heading for Moulmein. Kawkareik was defended by 16th Indian Brigade under Brigadier J. K. "Jonah" Jones, but was widely dispersed covering the tracks leading to the border 38 miles away. The Japanese first encountered the 1st/7th Gurkha Rifles (who had only arrived on the previous day) near Myawadi. The Gurkhas were quickly outflanked and forced to withdraw. Within forty-eight hours the rest of 16th Infantry Brigade were forced to follow.Attacker: Japanese (II/112th Battalion, 55th Infantry Division)
Defender: Commonwealth (D Company, 16th Brigade, 1/7th Gurkha Rifles)
5 turns
Players: 2 OBA: None Night: NoUnit Counts: |
Squads: A:25.0 D:13.0 |
AFVs: A:0 |
AFVs: D:0 |
Guns: A:0 Type 89 Heavy Grenade-Launcher x 2 D:0 OML 2-in. Mortar |
Misc Rules: | PTO, LJ (Exc: Swamp/Marsh is Light Jungle) |
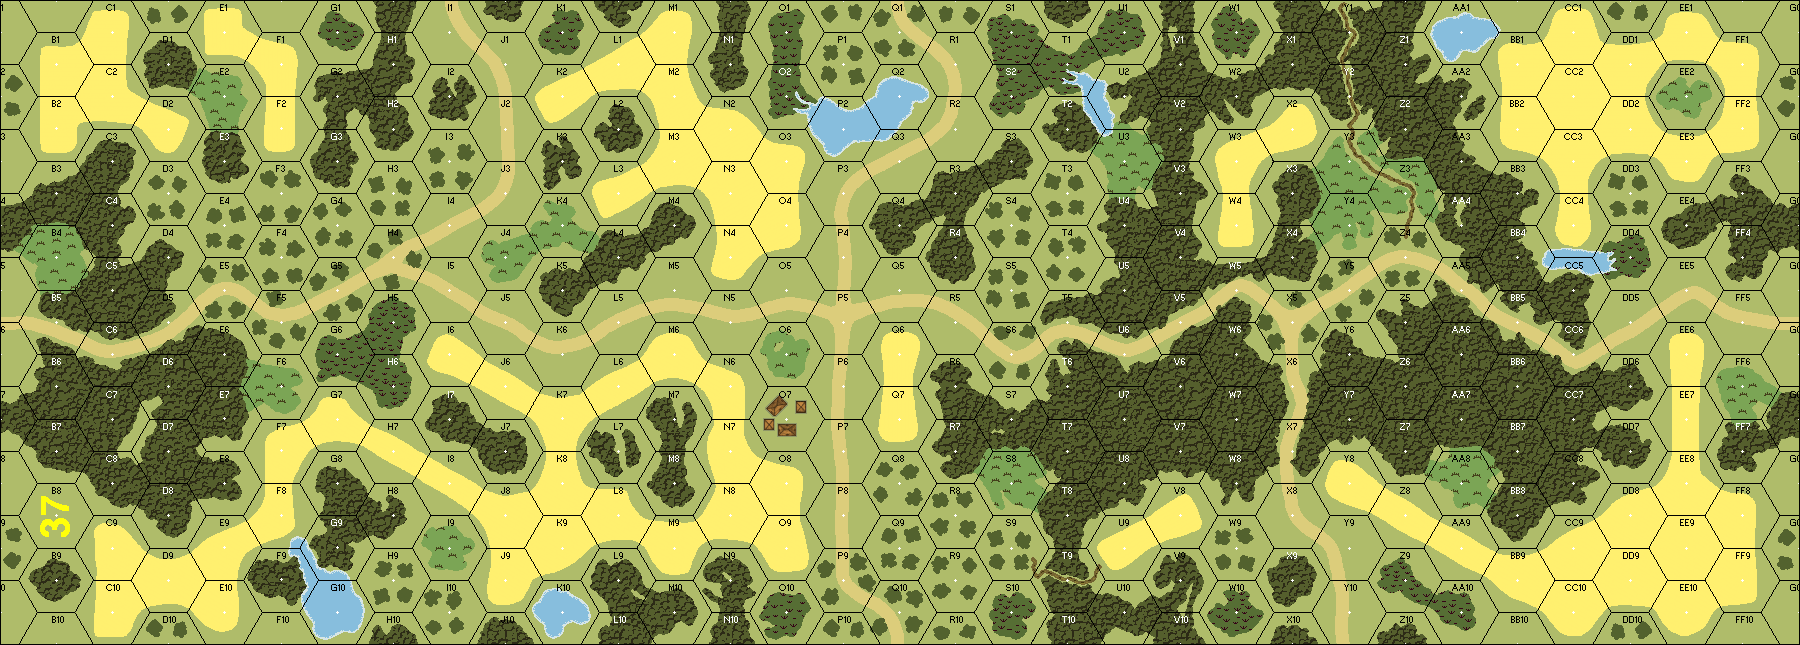
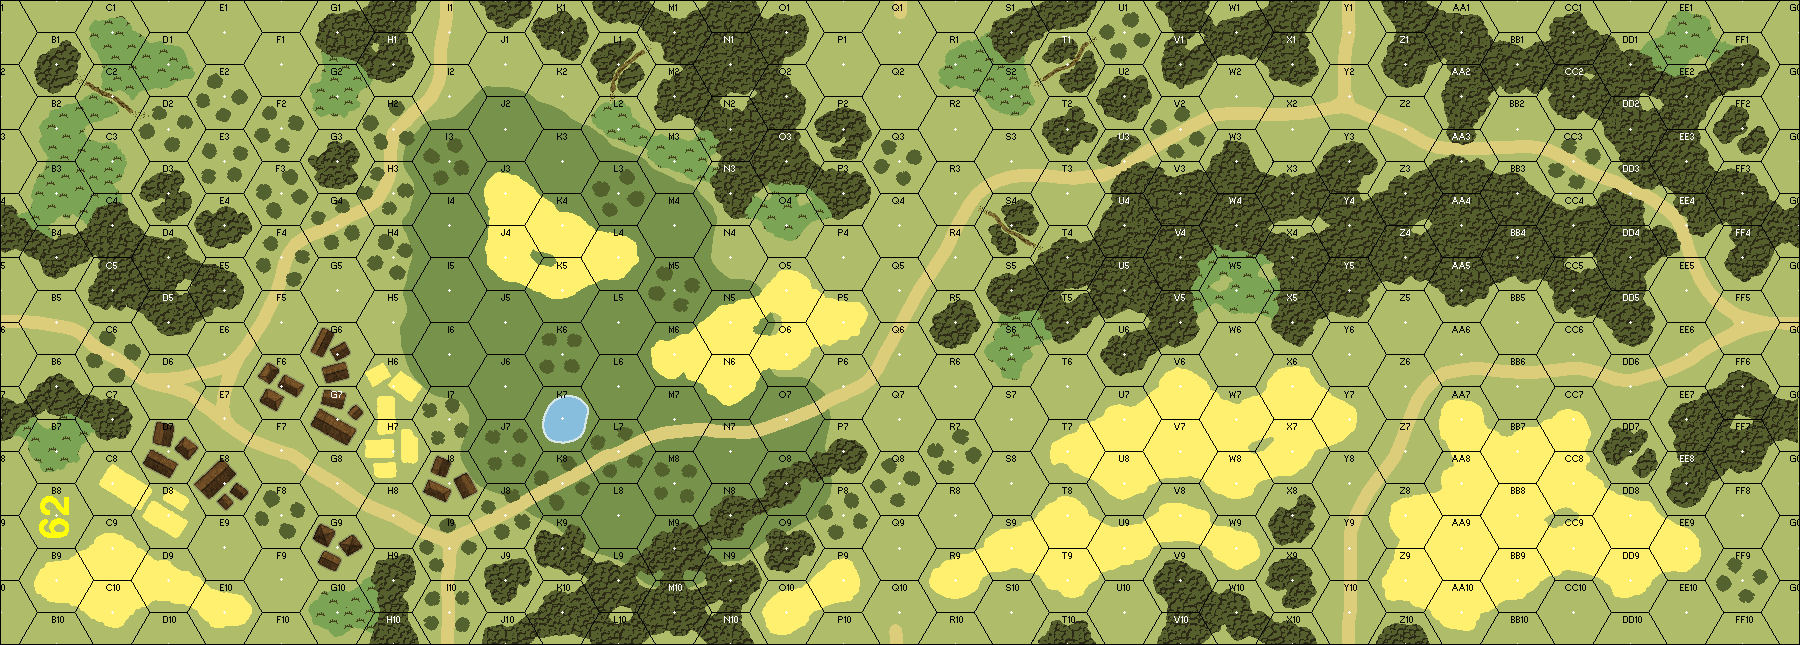
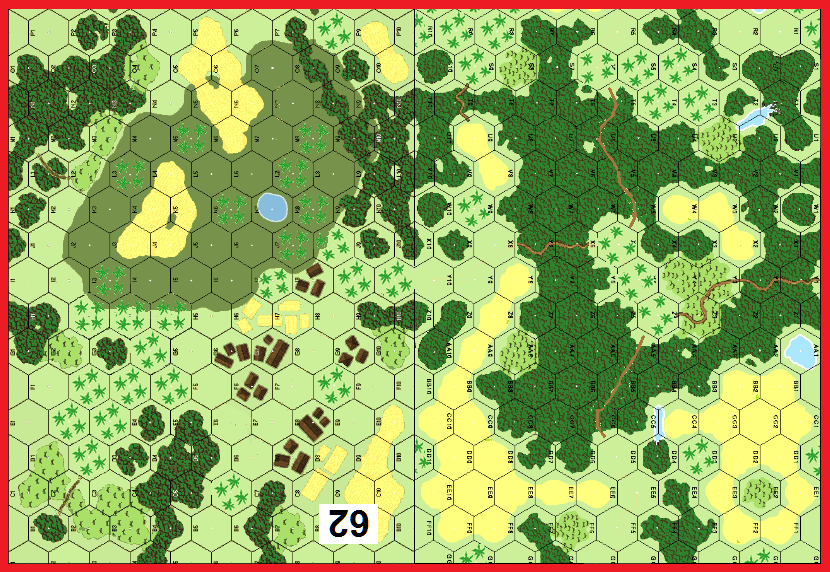
Map Board(s): |
Publication | Board |
---|---|
ASL 13 - Rising Sun | 37 |
ASL 13 - Rising Sun (2021) | 37 |
ASL Action Pack # 7 | 62 |
ASL 8 - Code of Bushido | 37 |
Overlays: | NONE |
Errata (source)
Players wanting to play this game/Request a match:
Scenario info
Last Played:
Date | Reporter | Opponent | Bal. | Result | Time | Comments | |
---|---|---|---|---|---|---|---|
2024-02-05 | (A) Eric Partizan Eric | vs | Japanese win | 4 huts controlled at the end - Give the Gurkhas the balance. If you like banzaïs charge... | |||
2022-11-27 | (D) Jeff B | vs | Elmo Menon | Japanese win | This is really a one-board scenario, as the Japanese setup on the very fringe of Board 5b, and there is absolutely no reason anyone would ever get anywhere close to going east of this setup line. As such, with 7 turns to cross the width of a board, the Japanese can almost just AM and advance to accomplish their objective. But of course the Japanese would never do that, and Elmo kicked his attack off very aggressively, deciding to send most of his force right up the middle with a small outlying force to the south. The southern force faced some bad luck when a 447 was KIA by a sneaky LOS, and then their sole leader down there was brained by a sniper, pinning the remaining two squads. But things fared much better in the center, and he was able to nicely position his two mortars in such a way to effectively trap my 9-1 and MMG squad, who succumbed the next turn to CC after some even more aggressive moving by the Japanese. Had these moves not panned out the end result probably would've been much different. As it was, the net result of all this was a big fat hole in the middle of my defense, with only a couple dummy stacks making it look tougher than what it was, and I was on my heels for the rest of the game. On top of that my equipment started to break, with first a LMG and then a mortar. On Turn 4 I lost another -1 leader to more CC, with one of my guns getting revenge by taking out the leader and squad that did the deed. By this time he had taken the high ground, and there was little I could do to safely reposition my force. I started to whittle away his troops, but he still had far too many unstriped squads for my dwindling out-of-position force to dea with. When he finally dropped his superfluous OBA on my one HS guard in the southern part of the village he was able to grab a few more huts unimpeded. A concession could easily have been in order here, but I tried the silly end game rush to hopefully give me a small chance to hold out for his final turn. But key breaks on a couple units trying to reach one of the huts, and a bungled CC cost me any realistic hope. | ||
2016-10-08 | (A) Andy Beaton | vs | Dave Reenstra | Japanese win | ASLOK 2016 | ||
2015-11-04 | (A) Simon Staniforth | vs | Japanese win | ||||
2015-08-23 | (A) Andy Hershey | vs | Jim Brackin | Japanese win | [Imported from ROAR] |
Action | Date |
---|---|
Bongiovanni Added a playing | 2024-02-05 14:10:16 |
buser333 Added a playing | 2022-11-27 22:14:07 |
hoxson1 Modified the Defender's Guns | 2022-01-12 20:21:02 |
hoxson1 Modified the Attacker's Guns | 2022-01-12 20:21:02 |
hoxson1 Modified the unit counts | 2022-01-12 20:21:02 |
File | Description | User | Views |
---|---|---|---|
(jap-gurkha.png) | Image | hoxson1 | 863 |
(it isnt over map new.png) | Map Image | hoxson1 | 573 |
Description | Uploaded by |
---|
Title | Author | Date |
---|
Description | Uploaded by |
---|