Making a Break for It WTO (id:#59595)
Near Oosterbeek, The Netherlands
1944-09-20 (51 others)
25: Gavin's Gamble (ASL 3 - Yanks)
ABtF07: Among the Bravest (HASL 6 - A Bridge Too Far)
ABtF08: God Save the King! (HASL 6 - A Bridge Too Far)
U04: Climax at Nijmegen Bridge (G.I.'s Dozen)
TB 6: Grinding Forward (Arnhem: The Third Bridge (1st Ed.))
TB 7: Damn and Blast (Arnhem: The Third Bridge (1st Ed.))
TB 8: The End? (Arnhem: The Third Bridge (1st Ed.))
CH 51: The Sonnenburg Hotel (Critical Hit # 3.1)
Z23: Setting the Woods on Fire (Rout Report # 5.2)
AL01: It's Hardly Fair (Fanatic Enterprises: Internet)
GSTK 2: House G (God Save the King)
GSTK 6: Block by Bloody Block (God Save the King)
RBF 8: Germeter by Meter (Recon by Fire! #1)
TOT 40: Ring of Fire (Time on Target # 3)
O74.1: Running a Mook (On All Fronts # 74)
SP131: Pocket Panzers (Schwerpunkt #11)
TAC9: Stutzpunkt Lezongar (Tactiques # 1)
SC12: Climax at Nijmegen Bridge (ASL Digest # 3.07)
JF 9: Among the Bravest of the Brave (Jitter Fire III)
SP141: Broken Beek (Schwerpunkt #12)
S23: Monty's Gamble (ASL Starter Kit #3)
3: Piercing the Veil (Witches Cauldron: Oosterbeek Perimeter)
4: Stand and Die (Witches Cauldron: Oosterbeek Perimeter)
5: Till the Woods Run Red (Witches Cauldron: Oosterbeek Perimeter)
WO04: I Don't Like Retreating (Winter Offensive Bonus Pack 2011)
ATB6: Grinding Forward (Arnhem: The Third Bridge (4th Ed.))
ATB7: Damn and Blast (Arnhem: The Third Bridge (4th Ed.))
ATB8: The End of the 2nd Battalion (Arnhem: The Third Bridge (4th Ed.))
FT173: A Misstep in Lorraine (From The Cellar Pack # 7)
J155: It's Hardly Fair (ASL Journal #10)
BBD # 3: Piercing The Veil (Brave But Doomed)
BBD # 4: Stand And Die (Brave But Doomed)
BBD # 5: Until The Woods Run Red (Brave But Doomed)
GJ101: Van Lennepweg’s Garden (Grumble Jones)
GJ104: Brothers at the Crossroad (Grumble Jones)
OO11: Hill 235 (Operation Olive - Gothic Line 1944)
OO13: Counter-Attack at Montecieco (Operation Olive - Gothic Line 1944)
OO14: Back and Forth (Operation Olive - Gothic Line 1944)
OO15: The Charge of the Queen's Bays (Operation Olive - Gothic Line 1944)
OO16: Riposte (Operation Olive - Gothic Line 1944)
YASL#7: Making a Break for It (Nor'easter XX)
25: Gavin's Gamble (ASL 3a - Yanks (2nd Edition))
GS10K: Gunapalooza (ASLOK 2012)
TD 2: Ommeray: Duel of Commandos (Trench of Death #1)
S70: A Sideshow Affair (ASL Starter Kit #4)
S87: Straight and Fast (ASL Starter Kit Bonus Pack #2)
DTF-16: Panther Cull (Not One Step Back)
CH 51: The Sonnenburg Hotel (Critical Hit #3.1 2022 Reprint)
J210: Moment of Truth (ASL Journal #13)
292: Four Stars of Valor (ASL 16 - Twilight of the Reich)
FT INOR19: “Pointed Stone” Broken (Inor Players Guide)
Designer: Jim Povey
Starter kit scenario?: Deluxe scenario?:
Balance:
BritishGerman (SS)
Overview:
During Operation Market-Garden, BG Shan Hackett moved the remains of his 4th Para Brigade to disengage from the vicinity of Wolfhezen into what the Germans would eventually call ‘Der Kessel’ around Oosterbeek. Spearheaded by the 10th Para Battalion, the brigade moved southeast through woods carrying on a running fight, often times using captured weapons to replace their own. Kampfgruppe Lippert engaged 4th Para forcefully, but failed to strike a fatal blow due to the violence of the British attack and the intervention of General von Tettau. At 13:30, the commander of the 10th Para Battalion entered the British lines with 60 of his beleaguered battalion, but Hackett and most of the 156th Para were still fighting in the woods from a hollow. At 16:30, Hackett decided it was time to make a break for it.Attacker: British (Elements of the 4th Parachute Brigade, 1st Airborne Division)
Defender: German (SS) (Elements of Kampfgruppe Lippert (SS-Unteroffizier Schule ‘Arnheim’ with attached elements of the Hermann Goering Division and Kriegsmarine units))
5.5 turns
Players: 2 OBA: None Night: No| Unit Counts: |
| Squads: A:15.0 D:14.5 |
| AFVs: A:0 |
| AFVs: D:0 |
| Guns: A:0 OML 2-in. Mortar D:1 2cm FlaK 30 5cm leGrW 36 |
| Misc Rules: | +1 LV Hindrance, Ov3 w A: AS but Stealthy |
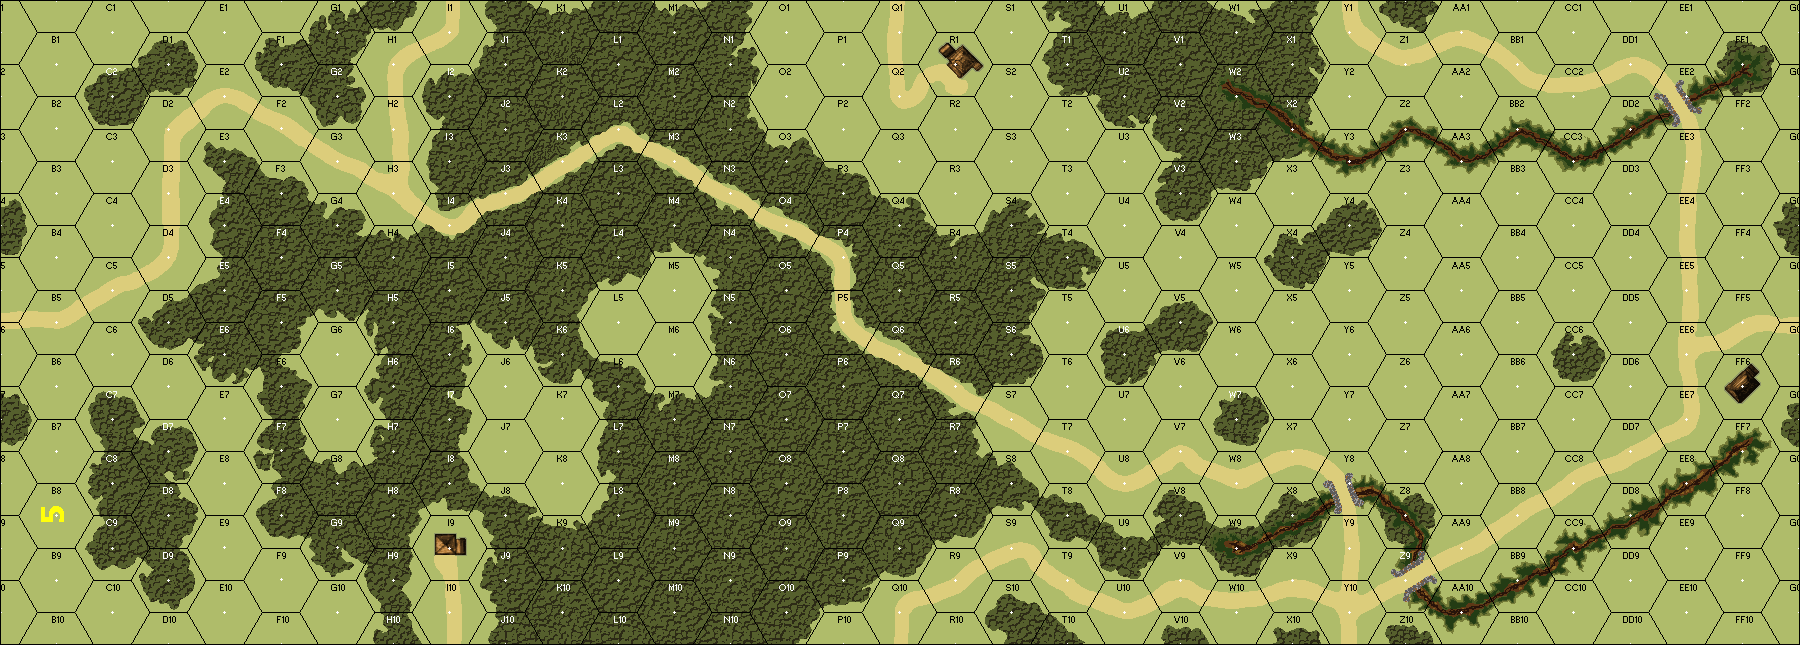
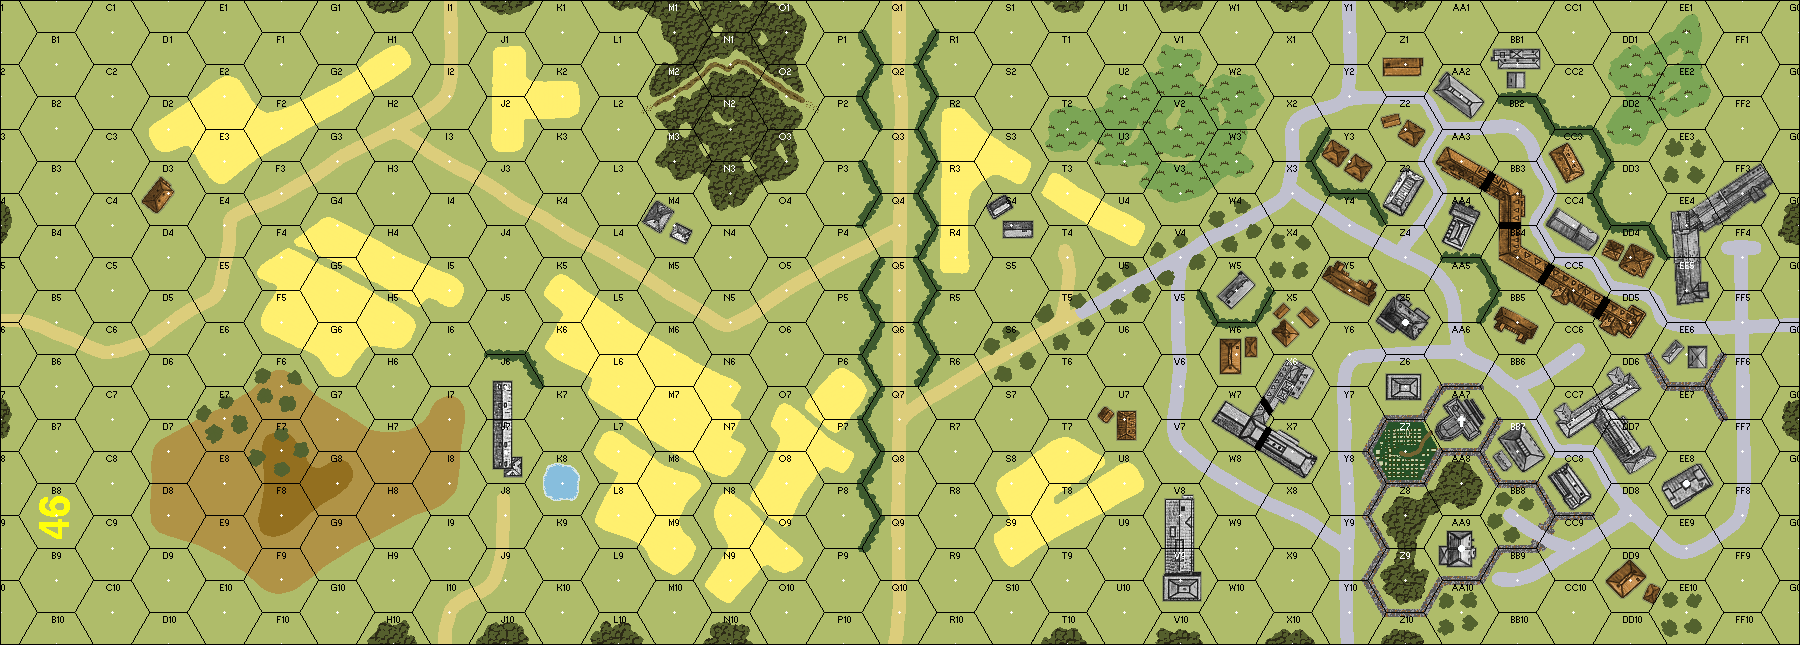
| Map Board(s): |
| Publication | Board |
|---|---|
| ASL Action Pack # 2 | 46 |
| ASL 1 - Beyond Valor (3rd Edition) | 5 |
| ASL 3a - Yanks (2nd Edition) | 46 |
| Overlays: | Wd5 | X12 | X18 |
Errata (source)
Players wanting to play this game/Request a match:
Scenario info
Last Played:
View all or balance report
| Action | Date |
|---|---|
| Cpl Wright Added a playing | 2024-06-01 01:34:22 |
| Simonstan Added a playing | 2023-03-07 17:28:06 |
| Alan Krause Added a playing | 2022-10-10 21:57:34 |
| Tigernaut Uploaded the Board image | 2022-06-14 14:31:36 |
| hoxson1 Modified the Theatre | 2021-03-03 20:23:08 |
| File | Description | User | Views |
|---|---|---|---|
| (brit para woods.png) | Image | hoxson1 | 1401 |
| (brit-ss.png) | Image | hoxson1 | 1211 |
| (making break map.png) | Map Image | hoxson1 | 1553 |
| Map Image (YASL7 Making A Break For It) | Map Image | Tigernaut | 1254 |
| Description | Uploaded by |
|---|---|
| CASLO (Canadian ASL Open) XXI - May 2017 | Michael Dorosh |
| Title | Author | Date |
|---|
| Description | Uploaded by |
|---|


